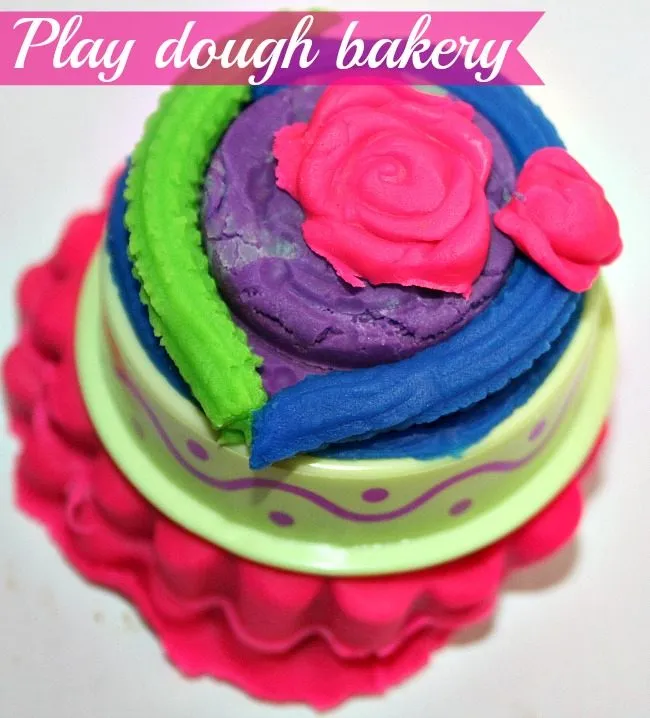
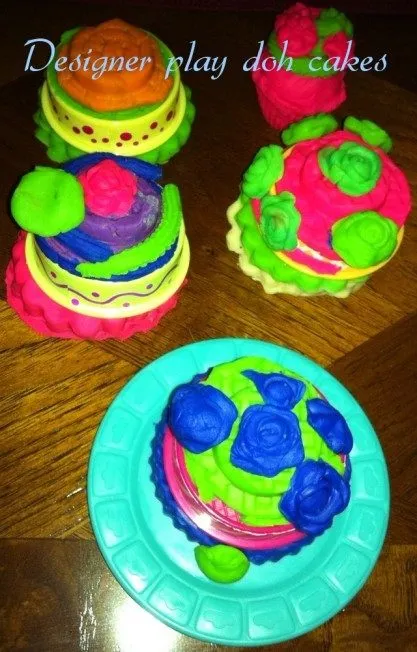
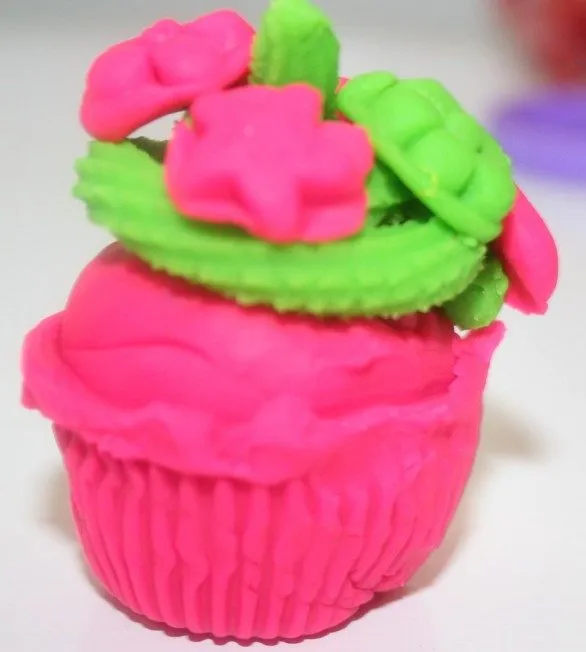
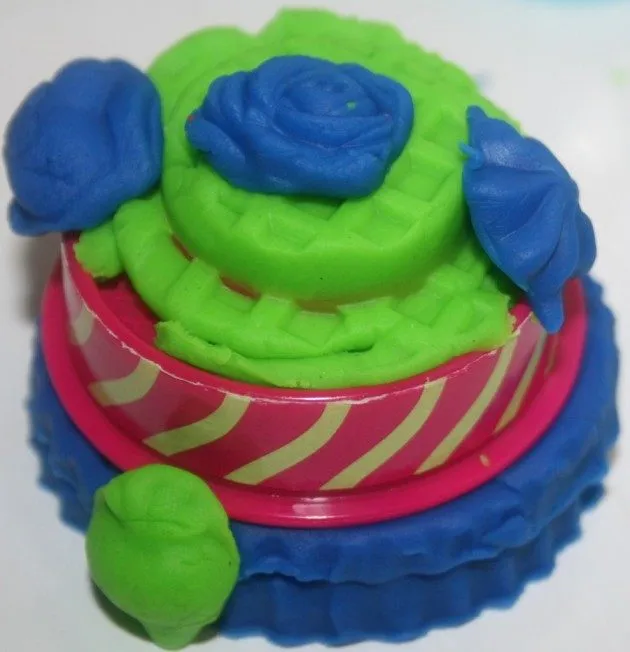
 Ever since we got that Play Doh Cake shop, Big A and baby A have been making cakes non stop for at least 3 days. That’s a really long time for my kids to be interested in one particular toy! While both the girls prefer open ended toys (read household objects) over the store bought ones, this one surely is a big hit here. We started off with a few simple cupcake designs. This was something Big A was able to do all by herself. Just a blob of your bright colored play doh in the cupcake mold and press. Viola! Beautiful cupcake hot out of the oven. Then she went on to decorate it with the “frosting” and some embellishments that were on the cake maker. Her favorite, rose was used over and over again. The pink and green combo kinda came naturally to her. May be the combo is etched in her brain because her mother has slathered her room with all things green and pink. While frosting the cake, she just made a simple straight play doh line on the floor. Then picked up the play doh and layered it on the cupcake instead of trying to frost it directly on the cupcake. I thought that was a pretty neat trick.
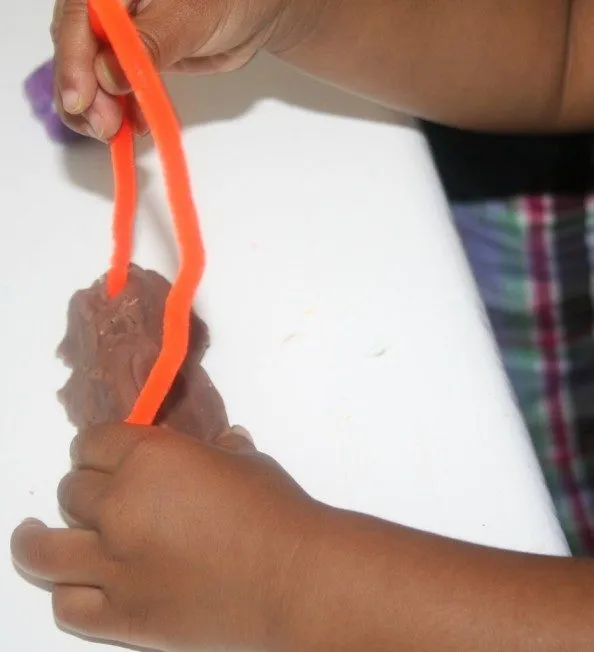
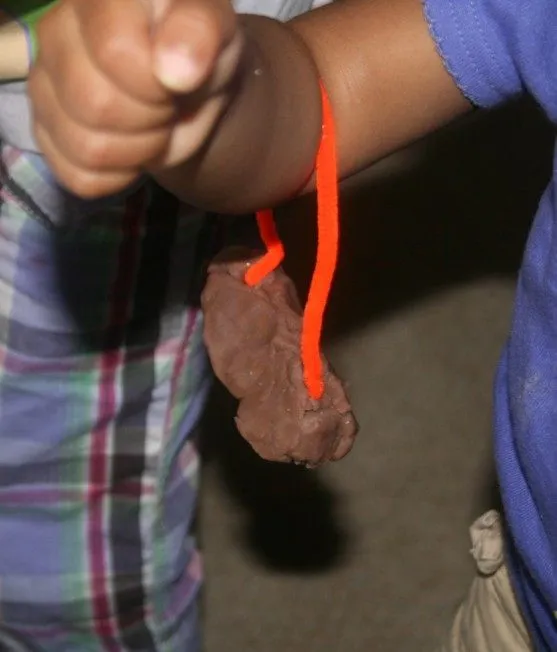
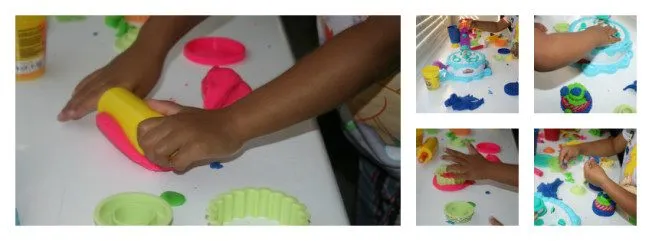 Baby A got to work her fine motor skills while cutting and dicing her brown play doh. The little girl that she is, she made a cute handbag with pipe cleaner and play doh. Isn’t that adorable?
 Big A made a VERY obvious joke looking at the brown play doh. She was amused by the color and texture of the brown play doh and repeatedly mentioned how it really resembled … What’s with these kids? Excitement over bodily wastes? Then we went on to make designer tiered cakes. The kids get to choose from many tier designs and embellishments. We tried all the four prints. When I tried to mention, ( I usually try not to do it) that her cake and decorations could be different colors she made it very clear that it is her cake shop and she is the baker. “Sometimes I want all of them to match” If only, she could think of this when picking out her clothes! Check out the amazing designs by my very own little baker
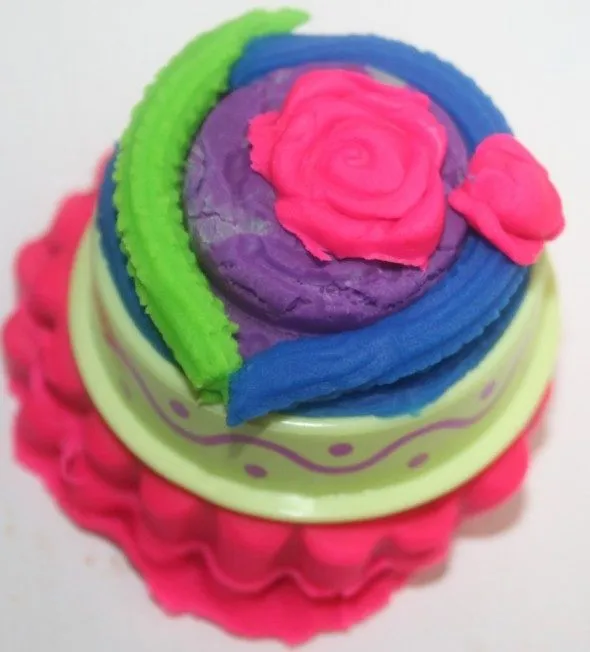
“Roses are my favorite decoration because they smell pretty. They also taste yummy!” says Big A. Anyone tasted roses?
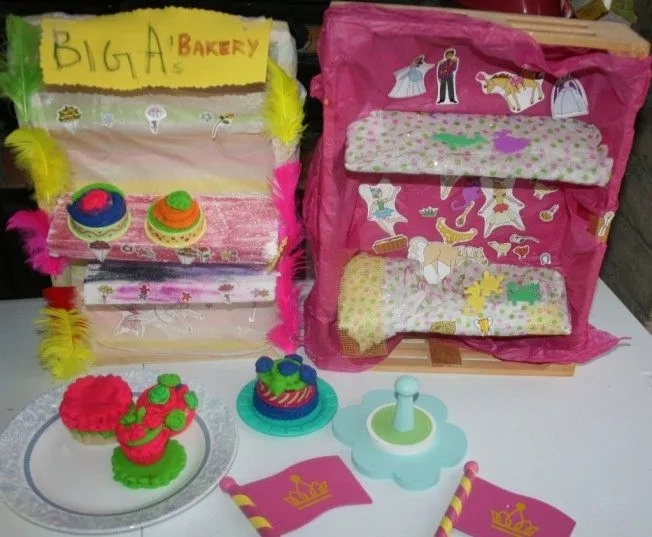
Once the cakes were done, Big A : We need to build a cake store. Mom : Huh? What is a cake store called? Big A : Bakery? Mom : Yeah and you are a ? Big A : Baker. I love bakers. Mom : Ok..You love bakers! I love Big A’s enthusiasm when it comes to building things. This time she really wanted to build a life-size bakery where she can crawl in or stand behind and play. Something like this. Since we don’t plan our day’s activities and most of the time wing it by following the kids’ lead I couldn’t even attempt the project. May be one day with daddy B’s help. Google search took me to the theimaginationtree. This blog is one of the most creative blogs out there and just as I expected she had a bakery project there. While ours is not as cool as the other one, it is something Big A could do with minimal help from mommy. That’s how she likes her projects anyway. If I even pick up a pair of scissors she gets upset and goes “ You never let me do anything in a project”.
- Wooden crates
- Stickers
- Tissue paper
- Glue
- Tape
- Cardboard
So yeah we started with a couple of wooden crates we had ( Mellisa and Doug) She covered it up with pretty tissue paper. Folding and taping all done by the kiddo. After the wrapping session, we obviously had to decorate it with stickers and feathers. Decorating is serious business around here and she gets very territorial when it comes to ballerina stickers! While Baby A did this, we continued the wrapping session. 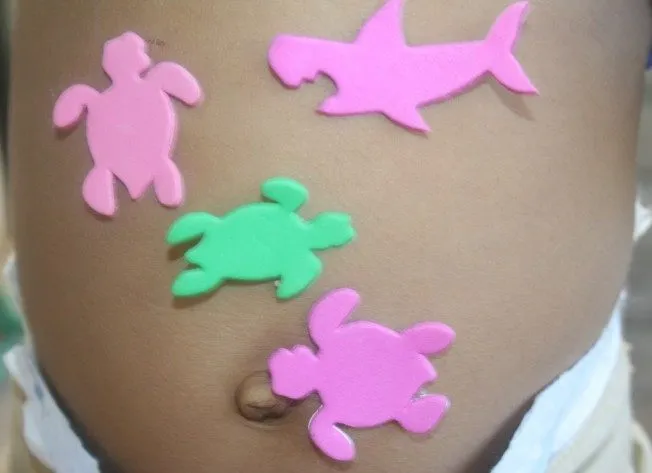 We just used cardboard for shelves even though it might not hold the cakes. Big A was able to ”prettify” the shelves all by herself. That’s more important to me. You could use any other stronger material for the shelves. We brought the cakes out to the bakery. Actually Big A was thoughtful to mention that we have to put the cakes in the oven . Once we made the play doh cakes we stashed them in the play oven. Once we were done with the bakery building, we opened the oven to some fresh and yummy cakes. The cakes went straight to the bakery. As expected just a couple of cakes were able to sit on the shelves. The rest lined up the floor of the bakery I guess. Ah! there goes Big A’s bakery’s A rating. Once the store (and the floor) were lined with the cakes, it was time to set up shop with a tiny cash register. I just used a jigsaw puzzle box with printed money.
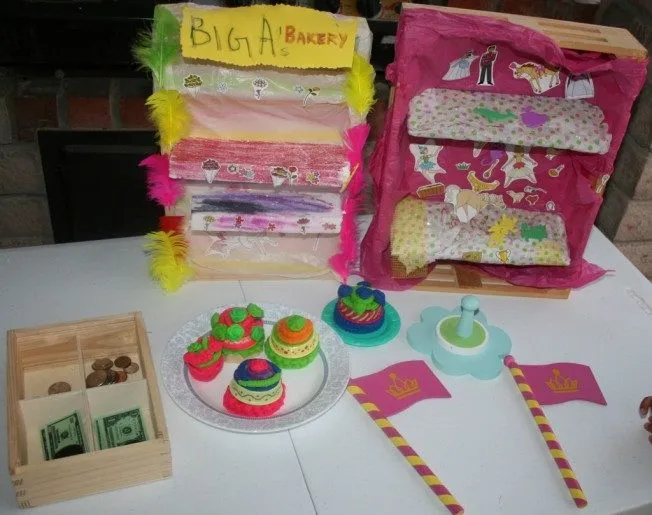
Then we just role played for a while by taking turns being the customer and the baker. Apparently she needs a baker’s hat to play the role! May be another project for another day.