

Art Activity to Craft a Quill Pen
This is art project for kids over 6 years old using an old toothbrush. There are so many ways you can modify this art project based on your child’s age and patience. However we ended up making quill pens and invited the kids to create and write.
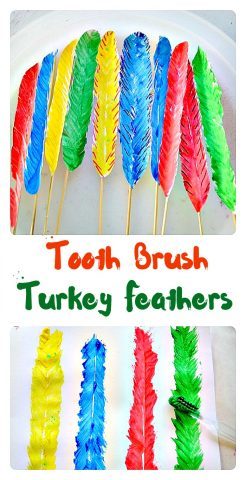
Use old toothbrushes to make rooster art – great Thanksgiving craft idea
Use electronic toothbrushes to make a self-painting robotic art
I got this idea from one my school- age cousins who apparently saw this on a tv show.
EDIT: Use the tutorial below to use the paper feathers as turkey feathers. Paint with appropriate colors and use them in a fun Thanksgiving Craft.
At first I had planned to do this activity in 2 steps. The first part as an art activity with my 4-year-old and the second part as a craft and finally end it with a fun creating/writing prompt. While attempting this art activity I realized that the first part was a bit too much for my preschooler soon to be kindergartener. But that little girl did NOT give up! He tried hard to get that angle right. What angle? You will see what I mean.
Materials { affiliate links}
- Cardstock Paper
 cut into strips
 - Cardstock Paper for the art itself
- Bamboo Skewers
- Liquid Watercolor Paints
- Old Toothbrush

On to the “how-to” for the art activity.
You will need strips of a thick paper (card stock) and a another clean card stock paper for the art itself.
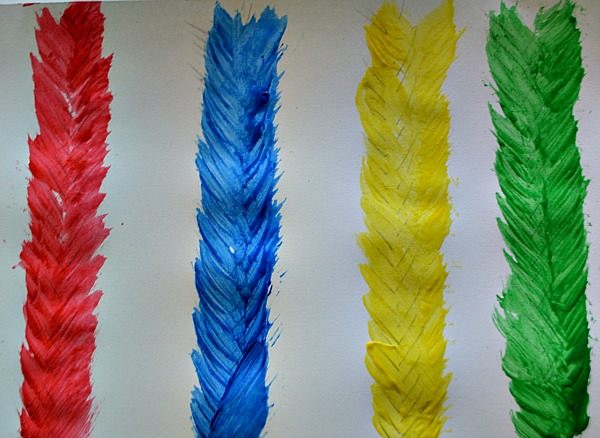
Place a strip of thick paper in the middle of a clean thick paper and use your toothbrush to make bristle marks on the right side ( top to bottom) at an approximate 30-45 degrees angle.
You will get something like the second picture below.
Don’t press too hard and make quick movements so that the bristles don’t flatten the image.
Give it 20 seconds and move the strip of paper to the right and make the same marks on the left. Make sure you leave a tiny gap between the sets which will make the feather more realistic. That gap is where the shaft of the feather ( called rachis ) will go.

This is how the toothbrush feathers will looks like.

I made another set so we can have a writing tool for all the colors.
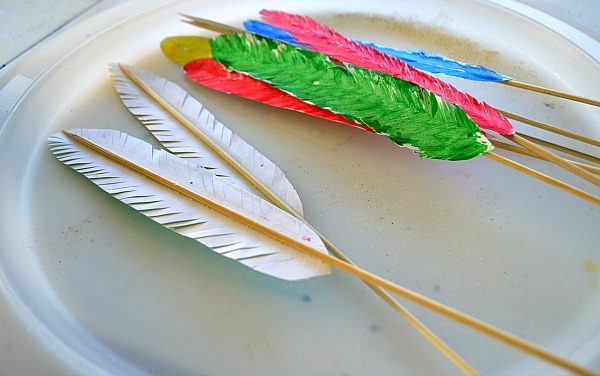
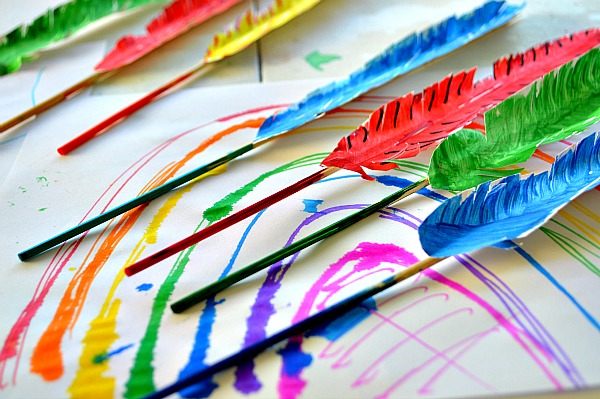
Once the paint dried I cut the feathers and attached them to bamboo skewers.
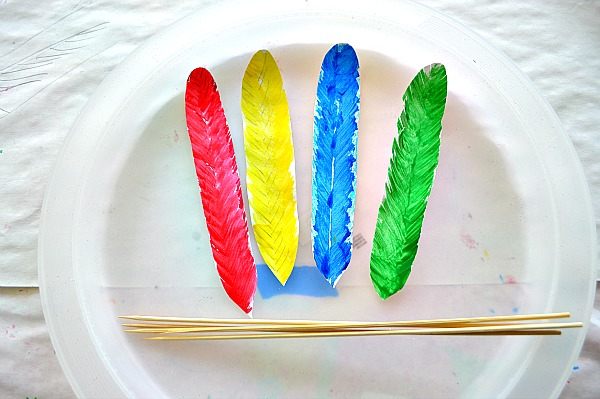
Just glue the skewers to the back of the feathers. I snipped the edges for the extra touch.
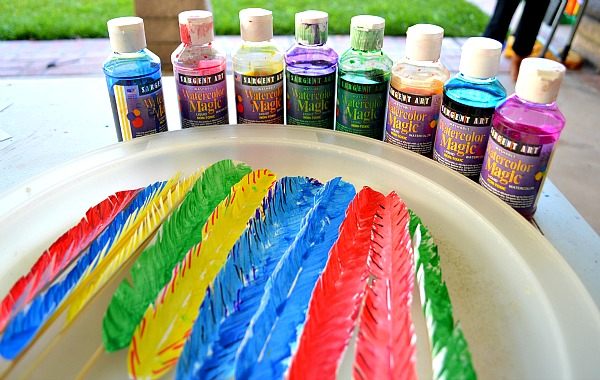
Now your fun writing tools are ready. Ooh the colors look so inviting!
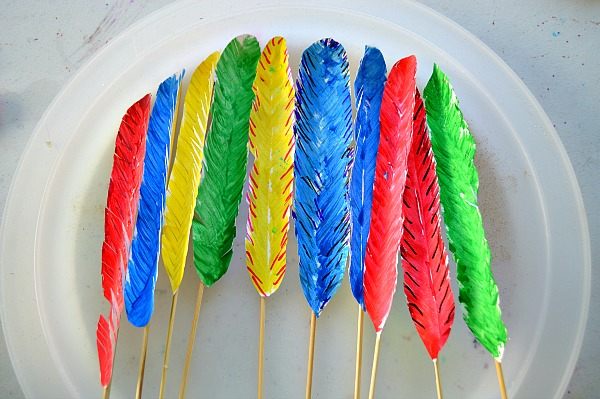
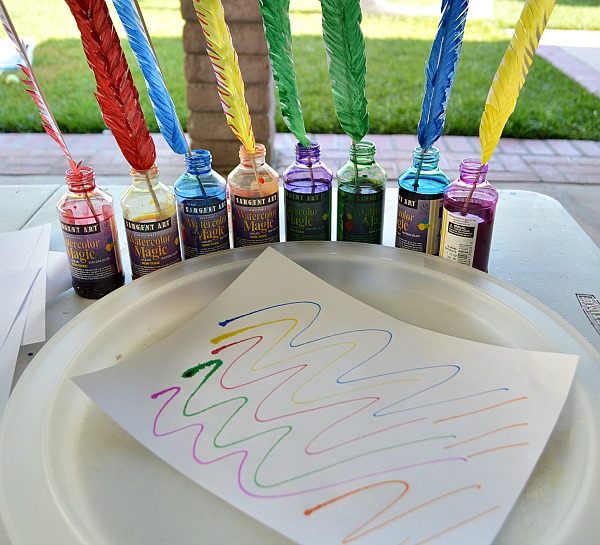
I set the feathers out with some liquid water colors. They are the pretend ink!
Invitation to write and create the old-fashioned way: with Quill Pens!
My older one was pretty psyched with this activity. She has been talking about people writing with feathers for ever and that day she was too excited that her talks became a reality and SHE was writing with feathers! You could take this one step ahead and actually make quill pens. Here is a tutorial for that.
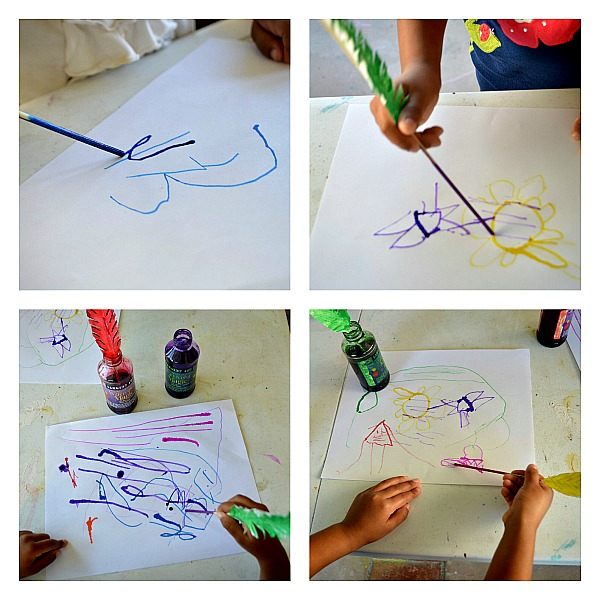
A beautiful rainbow that my preschooler made.
Another idea is to attach the feathers with some cute fastening material ( or use an old crummy rubber band ) and make pencil topper.

I sure think the quill pen art activity makes you travel back in time.
Looking for Non-toy gift ideas for kids this holidays? Try Kiwi Crate’s wonderful subscription crate. Receive theme based kids filled with supplies needed to have a meaningful time with your kids. Great for gifting another child too.
Click and try

To continue to play with us, keep in touch via Facebook, Twitter or Google Plus or our personal favorite Pinterest.
![]()
Simply splendid.
I absolutely love the toothbrush feathers!
Thank you! I bet an older kid would really enjoy making realistic paper feathers..